Insuring that the intake and exhaust valves are closed in each cylinder before working on that cylinder requires turning the engine over by hand. I assume anyone doing major work on an in vehicle engine knows enough to disconnect the battery and the fuel before crawling around under the hood. If you don’t maybe someone else should be working on your ride.
As I mentioned in an earlier post it is critical the intake and exhaust valves are closed before any work is done on the spark plug wells.
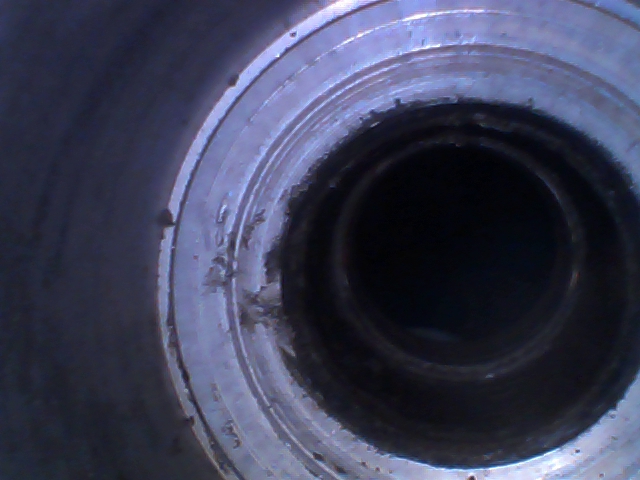
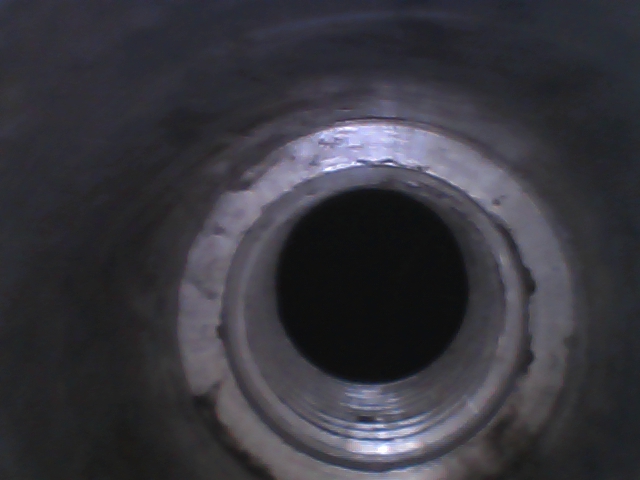
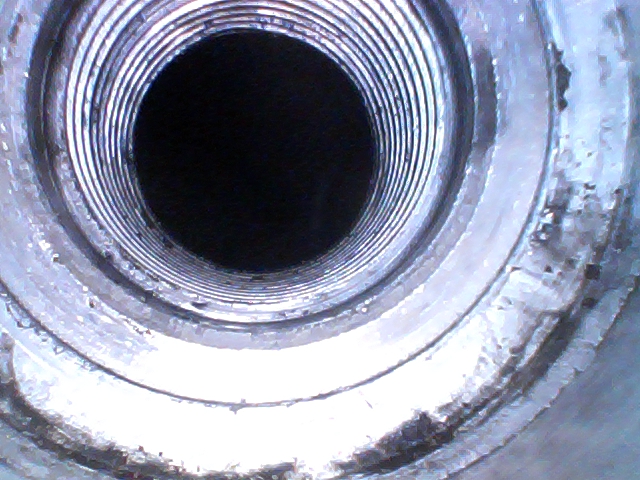
When the valves are open on the Triton 6.8L V10 the edges of the valves intersect the line of the spark plug wells.

Valve visible through spark plug hole
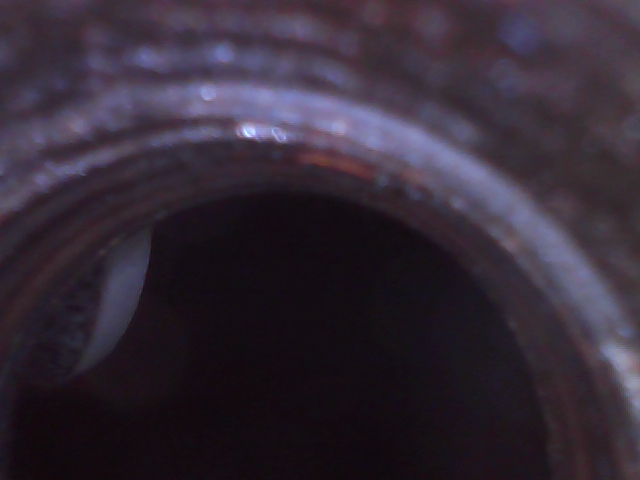
Valve visible through spark plug hole
The Timesert reamer, tap, and setter fill the spark plug well and could chip, break, or bend a valve if the tool was inserted into a spark plug and struck an open valve.
Any damage to a valve means removing the heads and replacing the valve. A simple over the fender thread job gone horribly wrong.
Reaming and tapping generates abundant chips. Even using grease in the flutes to catch as many chips as possible I still ended up with chips down in the cylinder.
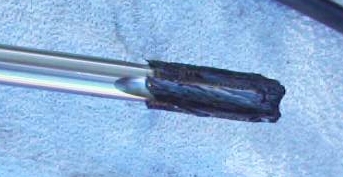
Tap coated with grease
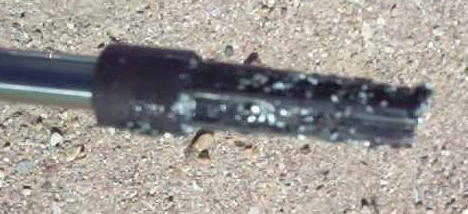
Reamer packed with chips
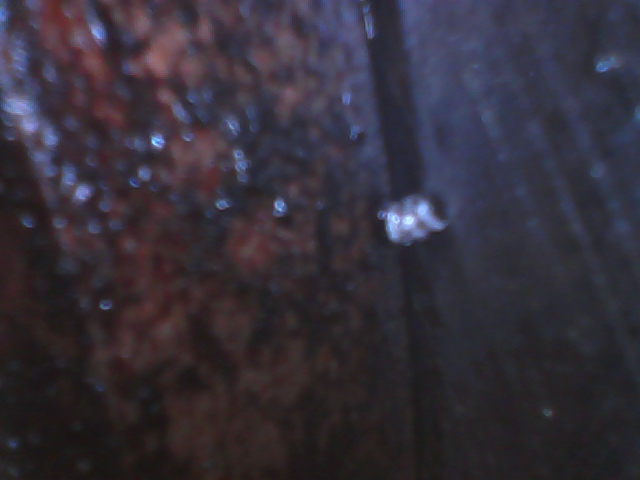
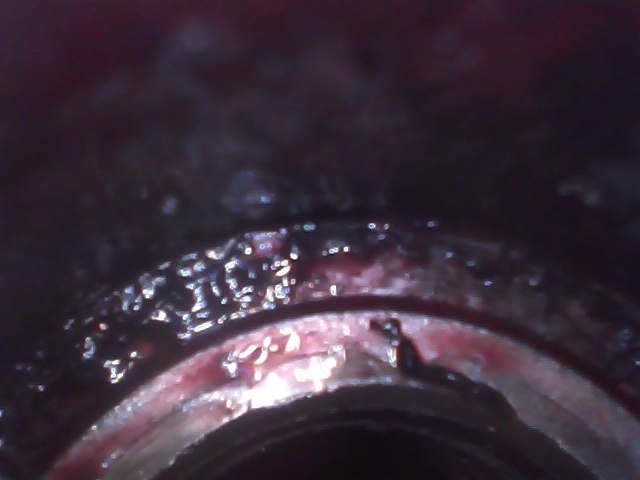
Aluminum cuttings inside of the cylinder.


You want to get the chips out of the cylinder before running the engine. If you blow the chips out with pressurized air, which works pretty well, you don’t want to get chips up into the intake where they will just be sucked back into the cylinder the first time you start the engine.
The bottom line is you want to get the valves closed before doing any work on that cylinder.
To confirm that the valves are closed Timesert recommends taking the valve covers off and checking that the rockers are not pressing the valves open. That sounds like work and mess I don’t want if it can be avoided.
While I wasn’t a fan of the Calvan kit for placing the inserts, see my previous post, Calvan does have a pretty slick way of determining if the valves are closed. With the valves closed the cylinder should hold compression, it should be “mostly” air tight. If the cylinder holds pressure the valves are closed. If either valve is open, intake or exhaust, the cylinder will not hold pressure. The Calvan kit comes with a trick little piece of hardware, which luckily can be purchased separately, that allows you to check that the cylinder is air tight through the spark plug hole.
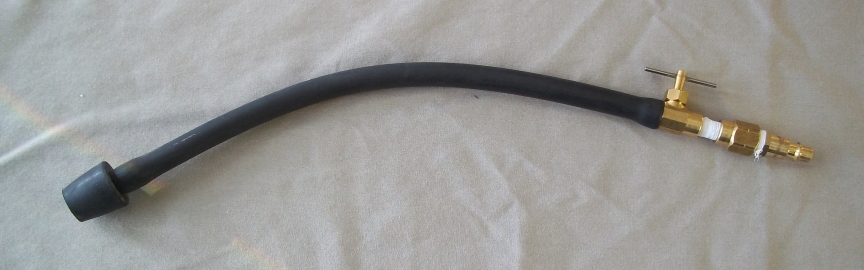
Calvan valve checking tool
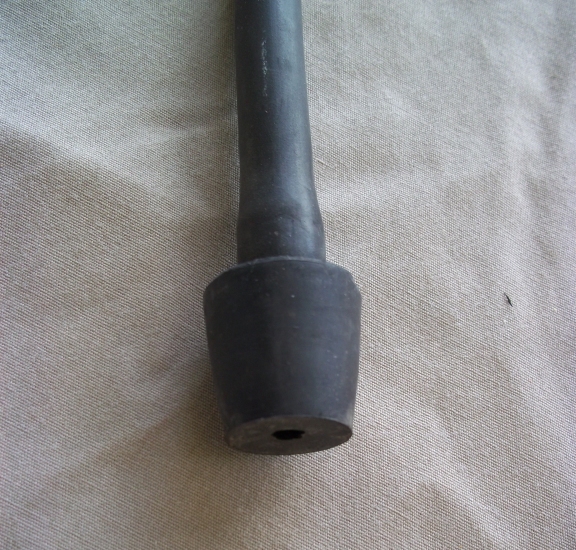
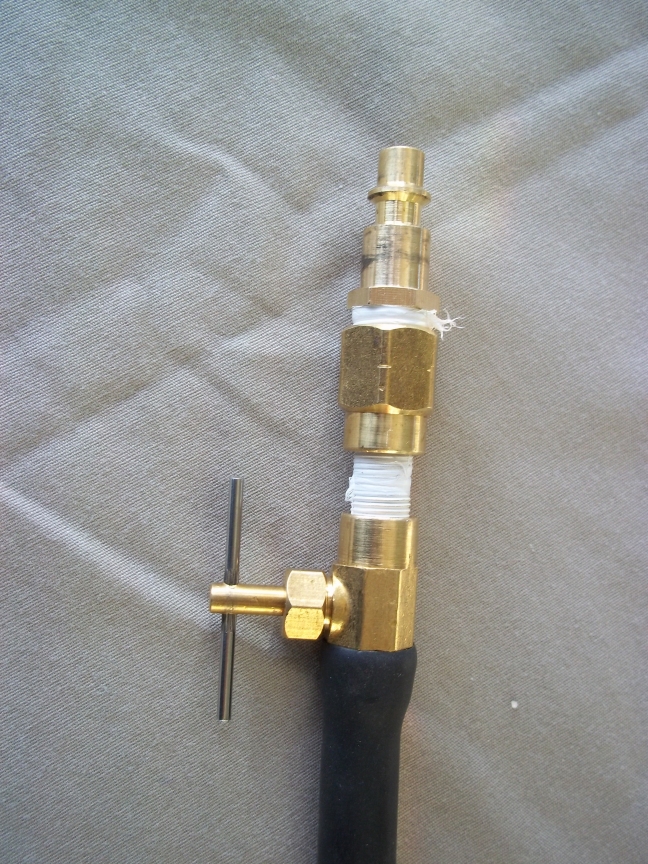
With the spark plug removed you jam the rubber plug into the spark plug well creating a pretty much air tight seal between the rubber stopper and the well. Next close the small petcock on the other end of the tool and hook up a compressor to the compressor nipple. Slowly open the petcock and begin pressurizing the cylinder. If the valves are open, even a little bit, you can hear air escaping from the cylinder and the rubber stopper will remain seated. If the valves are fully closed the cylinder will pressure up and blow the rubber stopper out of the spark plug well.
The steps to check that the valves are closed are:
1. Hook up an air compressor to the tool
2. Jam the stopper into the spark plug well
3. Open the petcock and listen for air escaping from the cylinder
4. Slowly turn the engine over by hand using an 18 mm socket on the front of the crankshaft
5. Keep turning the engine until the valves close causing the cylinder to pressurize and blow the rubber stopper out of the spark plug well.
After all of that to make sure the valves are closed you need to make sure the piston is down. The piston rises up far enough in the cylinder for the insert tools to impact the top of the piston. After insuring the valves are closed I use a bamboo skewer through the spark plug hole to measure the depth to the piston and make sure there is plenty of clearance between the head and the piston.
To see some video of the Calvan tool in action check out these videos